
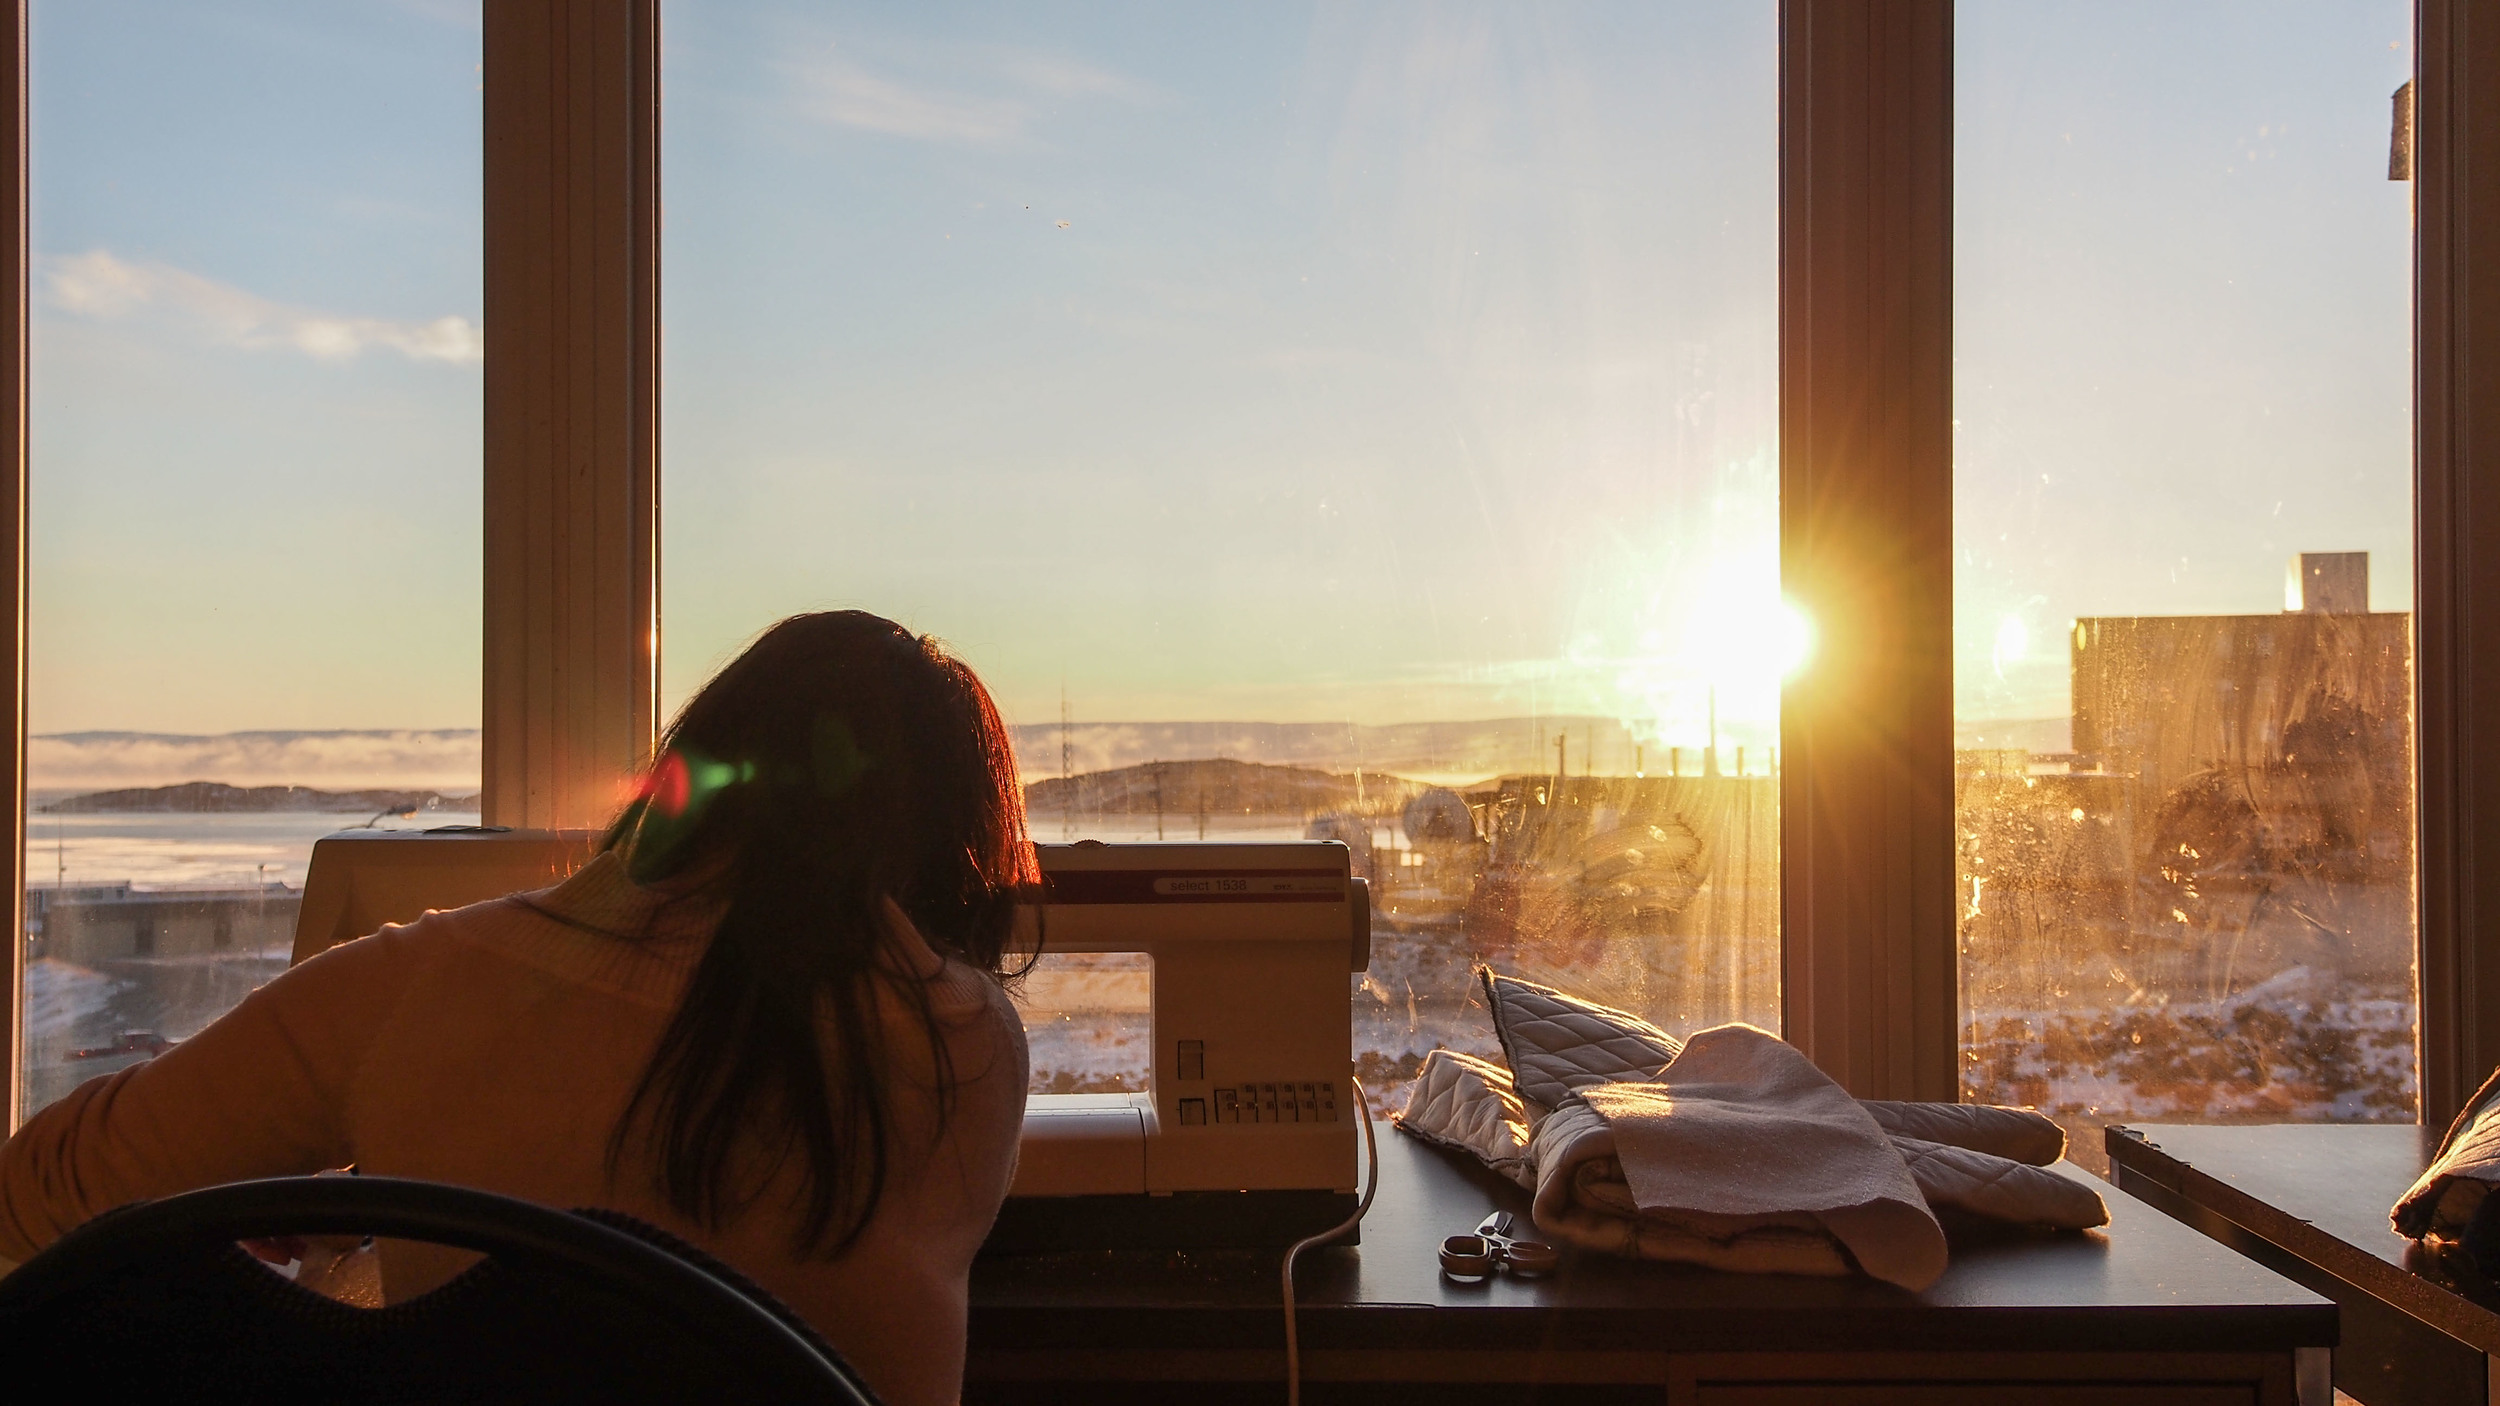
From October to December 2013, I participated in the Iqaluit parka course at the Tukisigiarvik Wellness Centre. Tukisigiarvik, which in Inuktitut means "a place to find understanding", is a community organization that provides training and instruction on a number of different topics, from land skills to kamiik making. It also happens to be one of my favourite places in Iqaluit, a warm space in which I can always find crafts and laughter and tea. Listen to Elisapee Davidee, Tukisigiarvik's Program Coordinator, talk about how the centre makes people feel welcome:
Iqaluit Parka Course
Length: 8-10 weeks (usually October - December)
Cost: FREE
Phone: 867 979 2400
The parka course runs in the autumn for 8-10 weeks. During each class, 1-2 instructors help participants measure, design, and create Inuit-style parkas. The instructors are culled from Iqaluit's surfeit of skilled seamstresses, each boasting dozens, if not hundreds of completed parkas in her portfolio. Their depth of knowledge is showcased in the fact that somehow, these women are able to accommodate every style, shape, and idea for a homemade parka that you could imagine. Pullovers, pointy hoods, darts, and appliqués; my parka teacher, Sarah, found a way to incorporate almost any suggestion into students' parka designs. The only limitation, really, is your own imagination and/or sewing skill.

The course basically works like this: in the first week, everyone works with the instructor(s) to create a pattern for their parka. You can design a parka for yourself or for someone else (I started with a parka for Justin). By the second week, students are cutting out the first layers of their parkas and learning how to sew the pieces together (depending on the purpose and style of your parka, it can have 2-3 layers; I will get into some of these details in a later post). Your teacher(s) will assist you as needed, but the course is self-directed, meaning, the more you put into it, the more you will get out, and your teacher will not be making that parka for you.

You may have noted above that this course is FREE, which is awesome. Tukisigiarvik receives funding from a variety of bodies, and is as such able to offer these courses at no cost. As a student, you will only need to provide:
- Your own sewing machine, if possible (Tukisigiarvik has some machines available, but it's best if you have your own, so you can work on your parka at home).
- All the materials for your parka: Commander (outer layer; provides water and wind protection), batting (inner layer; provides warmth), thread, trim, etc.
- Your own blood, sweat, and tears (I mean this; I've bled, perspired, and cried into every parka I have made).

Since taking the course, I've had a number of people approach me because they're interested in learning to make parkas as well. Here are some of their frequently asked questions and my answers:
I don't know how to sew; can I take the course? Absolutely. I didn't even know what a bobbin was when I started! The less you know, the harder you will have to work to catch up with some of the more advanced students. My advice would be to practice as much as you can at home and ask for extra help when needed.
Three days a week is a lot of time; do I have to go to every class? The classes are drop-in, so you're not obligated to go every single Tuesday, Thursday, and Saturday. That being said, because the parka-making course is self-driven, you get what you put in, not just as a seamstress, but also as a member of the Tukisigiarvik family. I would suggest going to as many classes as you can to get the most out of the course.
Can a homemade parka really be warmer/better/nicer than a store-bought coat?This depends on your individual tastes and appreciation for aesthetics. Personally, I never wear my Canada Goose anymore; I find the winter parka I made for myself to be more stylish, comfortable, and better at keeping me warm. Plus, I made it myself!
How do I sign up? The exact start date changes every year, but it is usually announced on the radio in early October. Once you hear the announcement, make sure you call or drop into Tukisigiarvik right away, because the class fills up fast! For more info, you can call the centre at 867 979 2400 (though I wouldn't suggest calling about the parka course until September). Ask for Elisapee and tell her Anubha sent you!
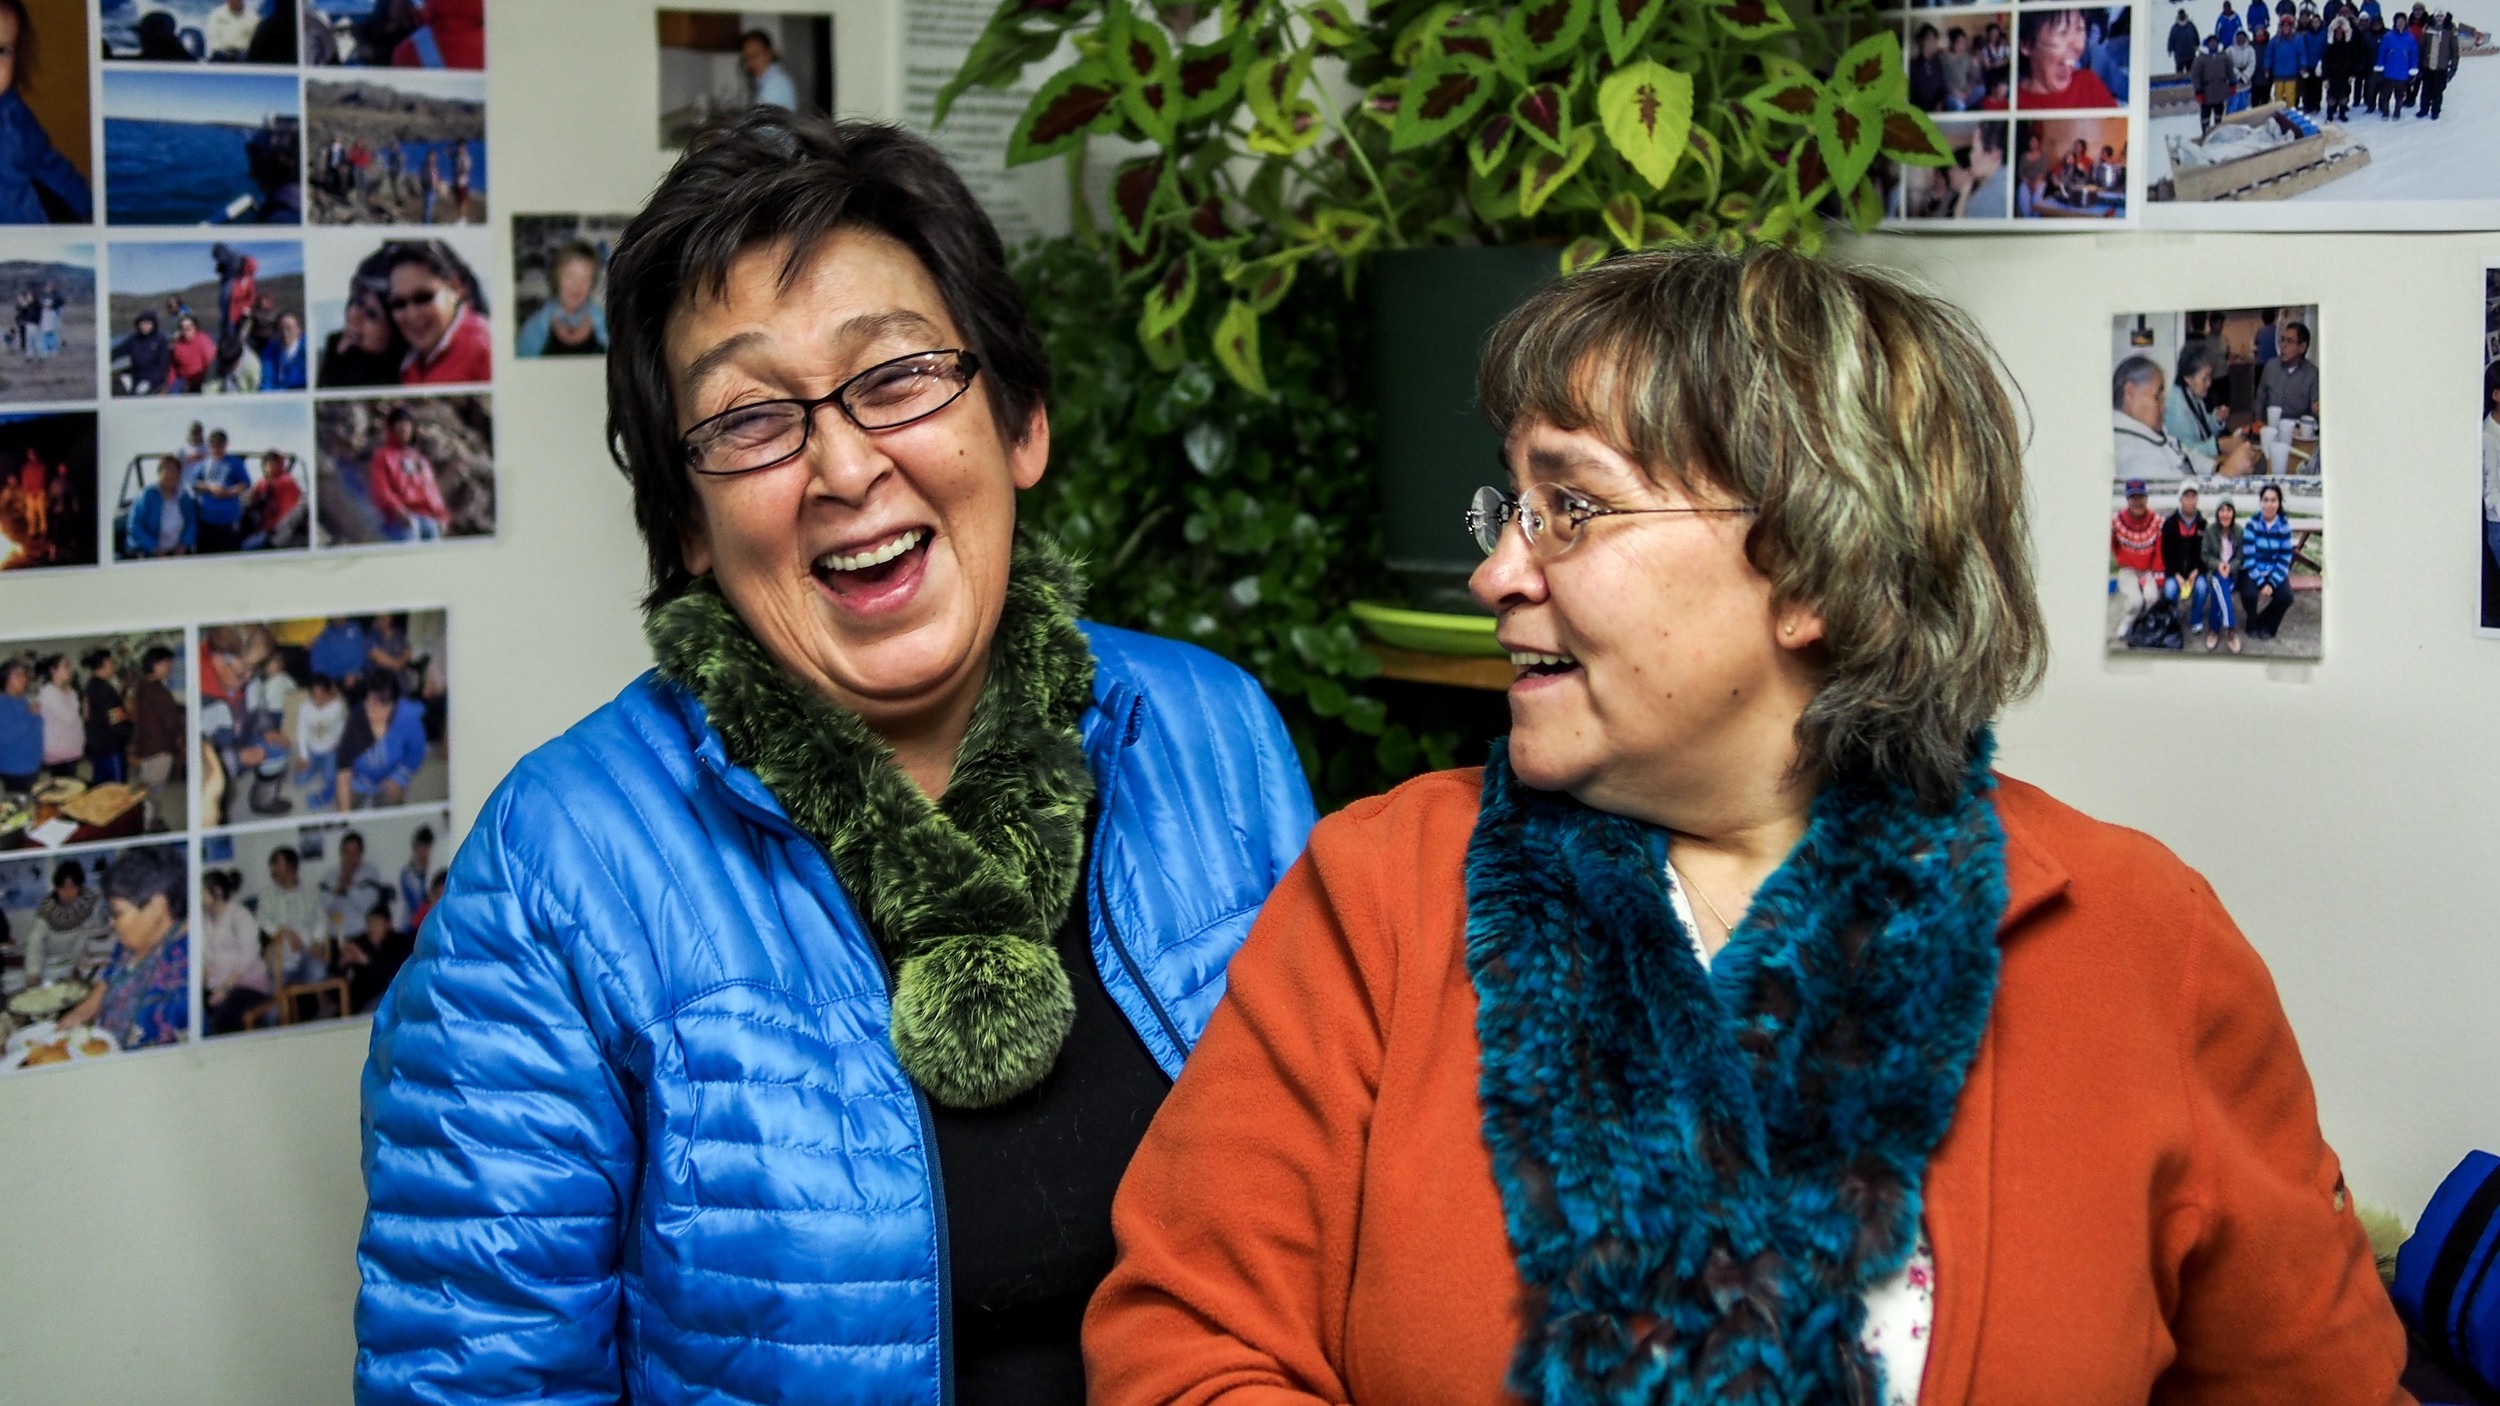
Iqaluit parka course instructors.
Parka No. 1
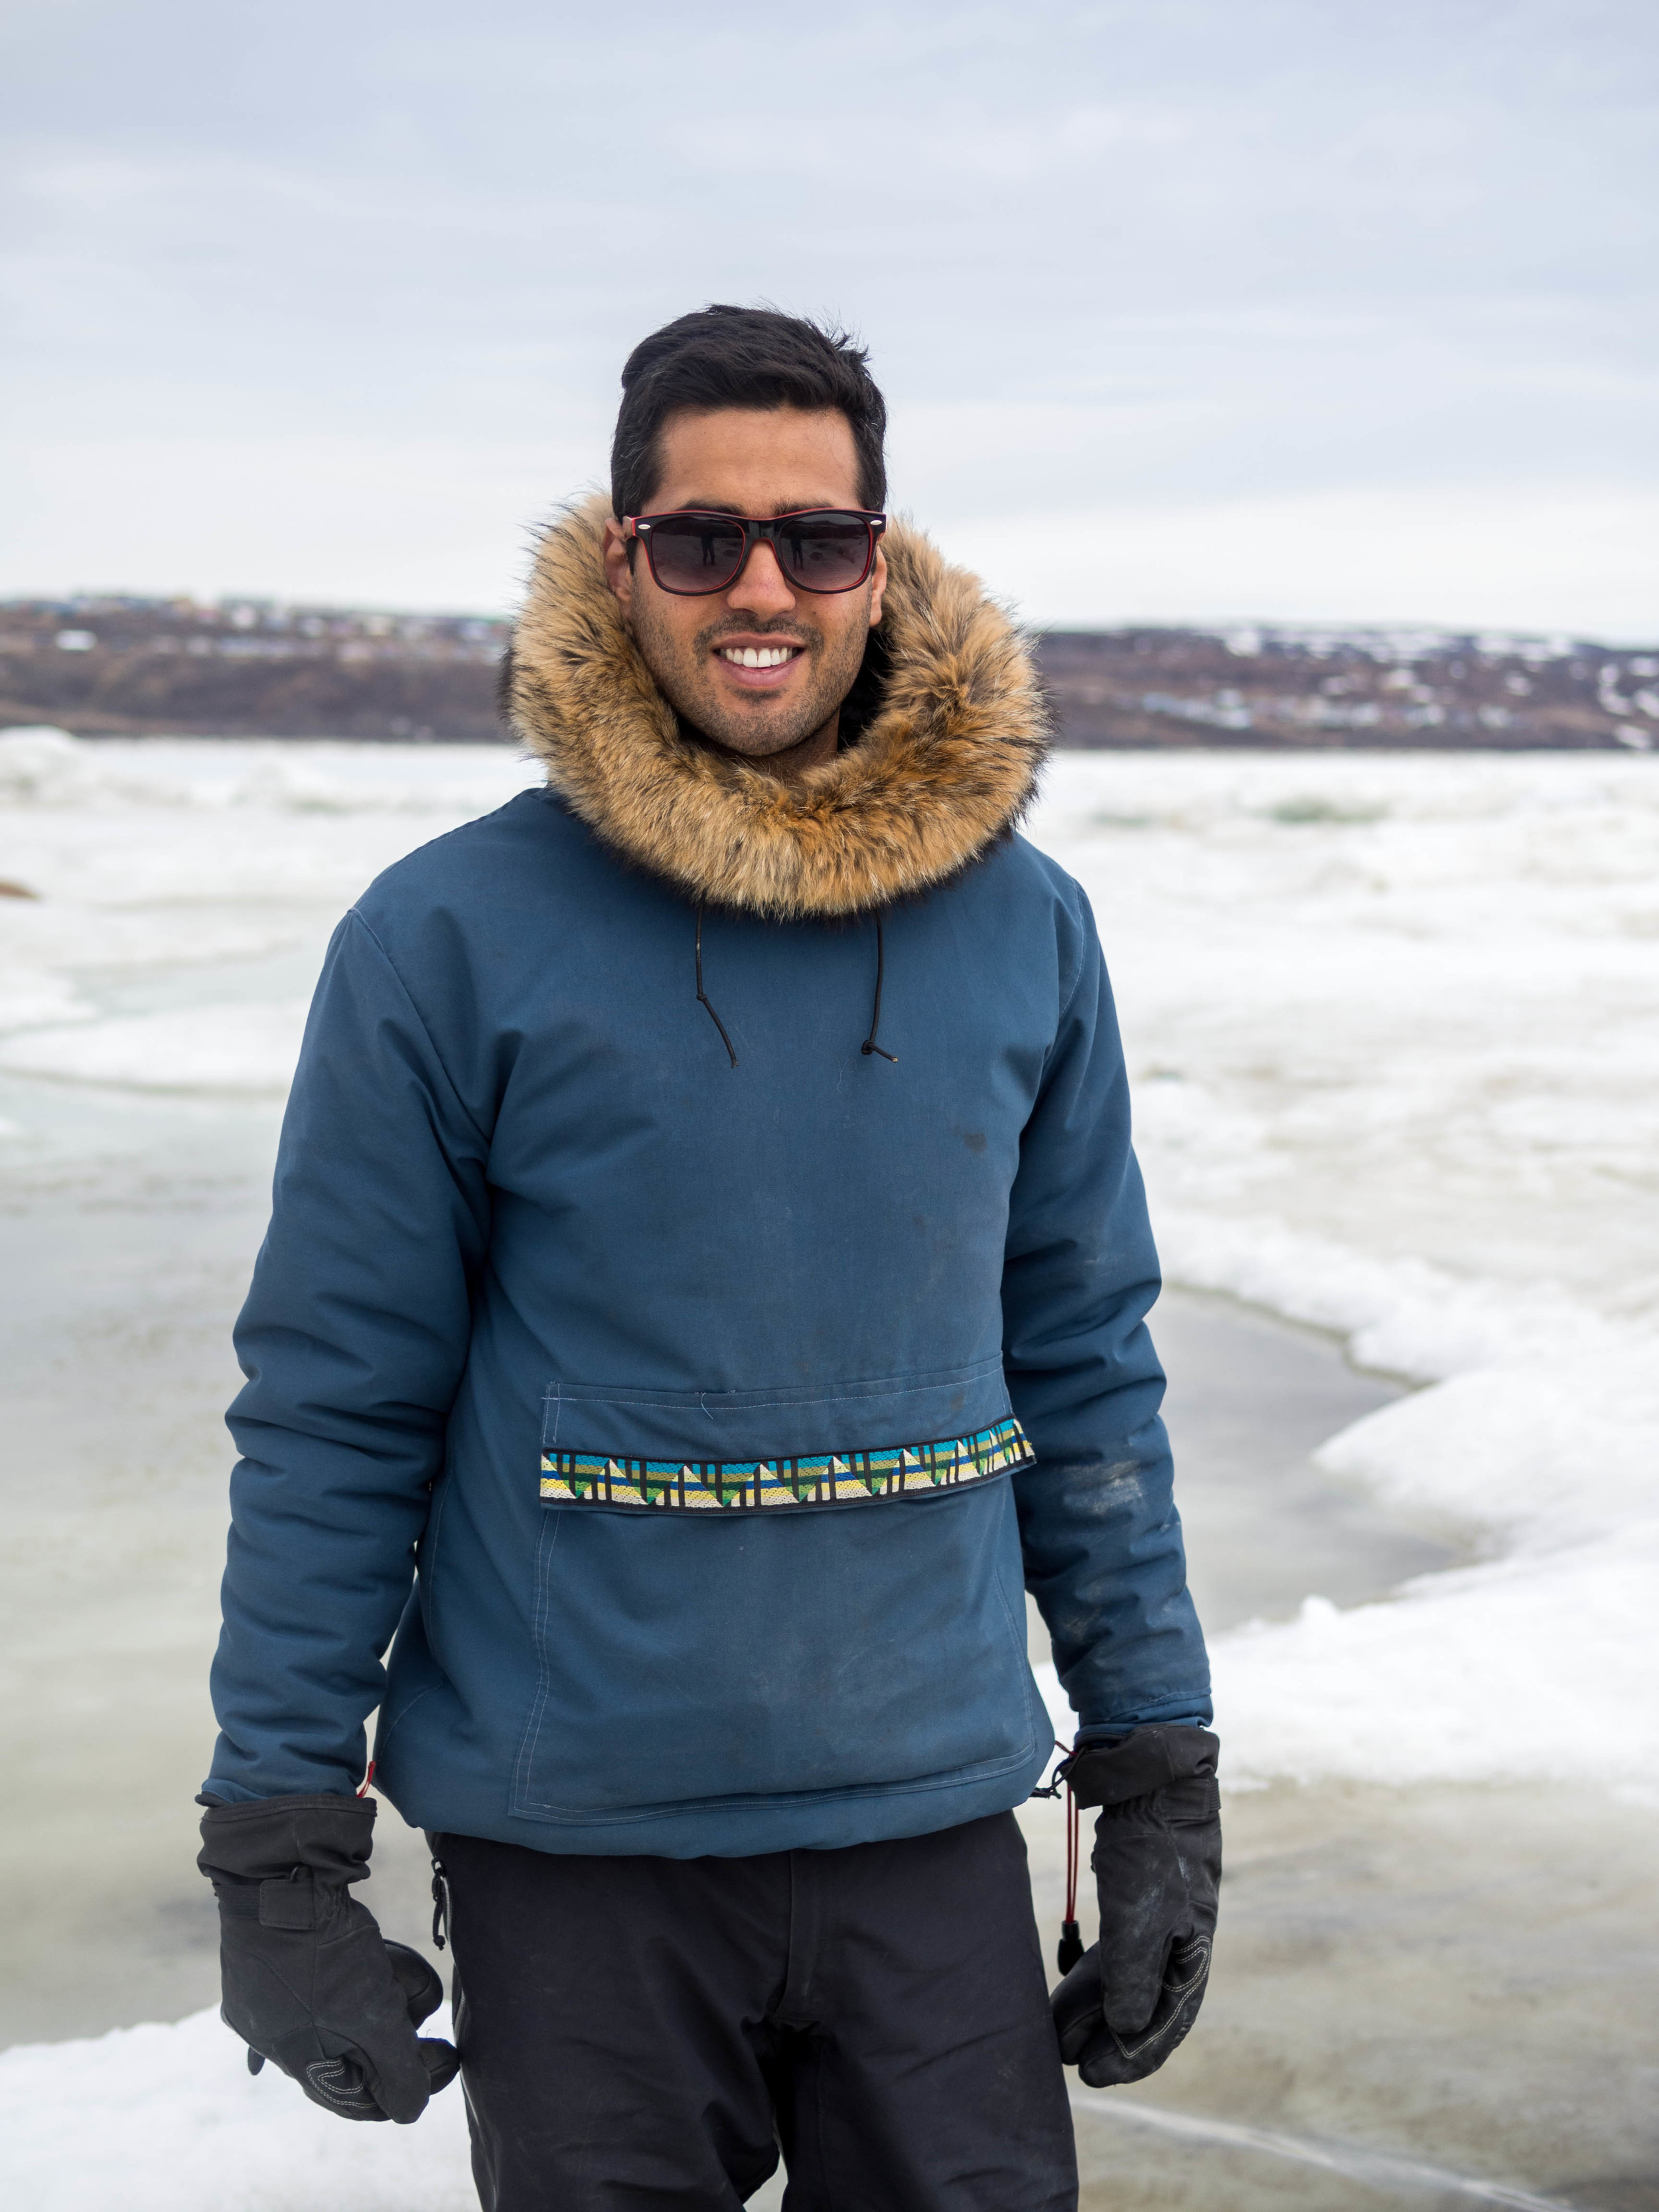
And now, on to my very first parka! For my debut, I chose to sew a simple hunting parka for Justin. The jacket has three layers: 6 or 8 oz. batting (I can't remember now which), thinsulate, and navy Commander (Commander is the brand name for the poly-cotton shell material that is on the outside of a Canada Goose coat). The pullover design helps keep wind out and warmth in, as it doesn't have a zipper.
Justin's absolute favourite part of the parka is the large utility pocket: it's great for tools, snacks, or extra gloves, and its easy-access opening is perfect when he's snowmobiling.
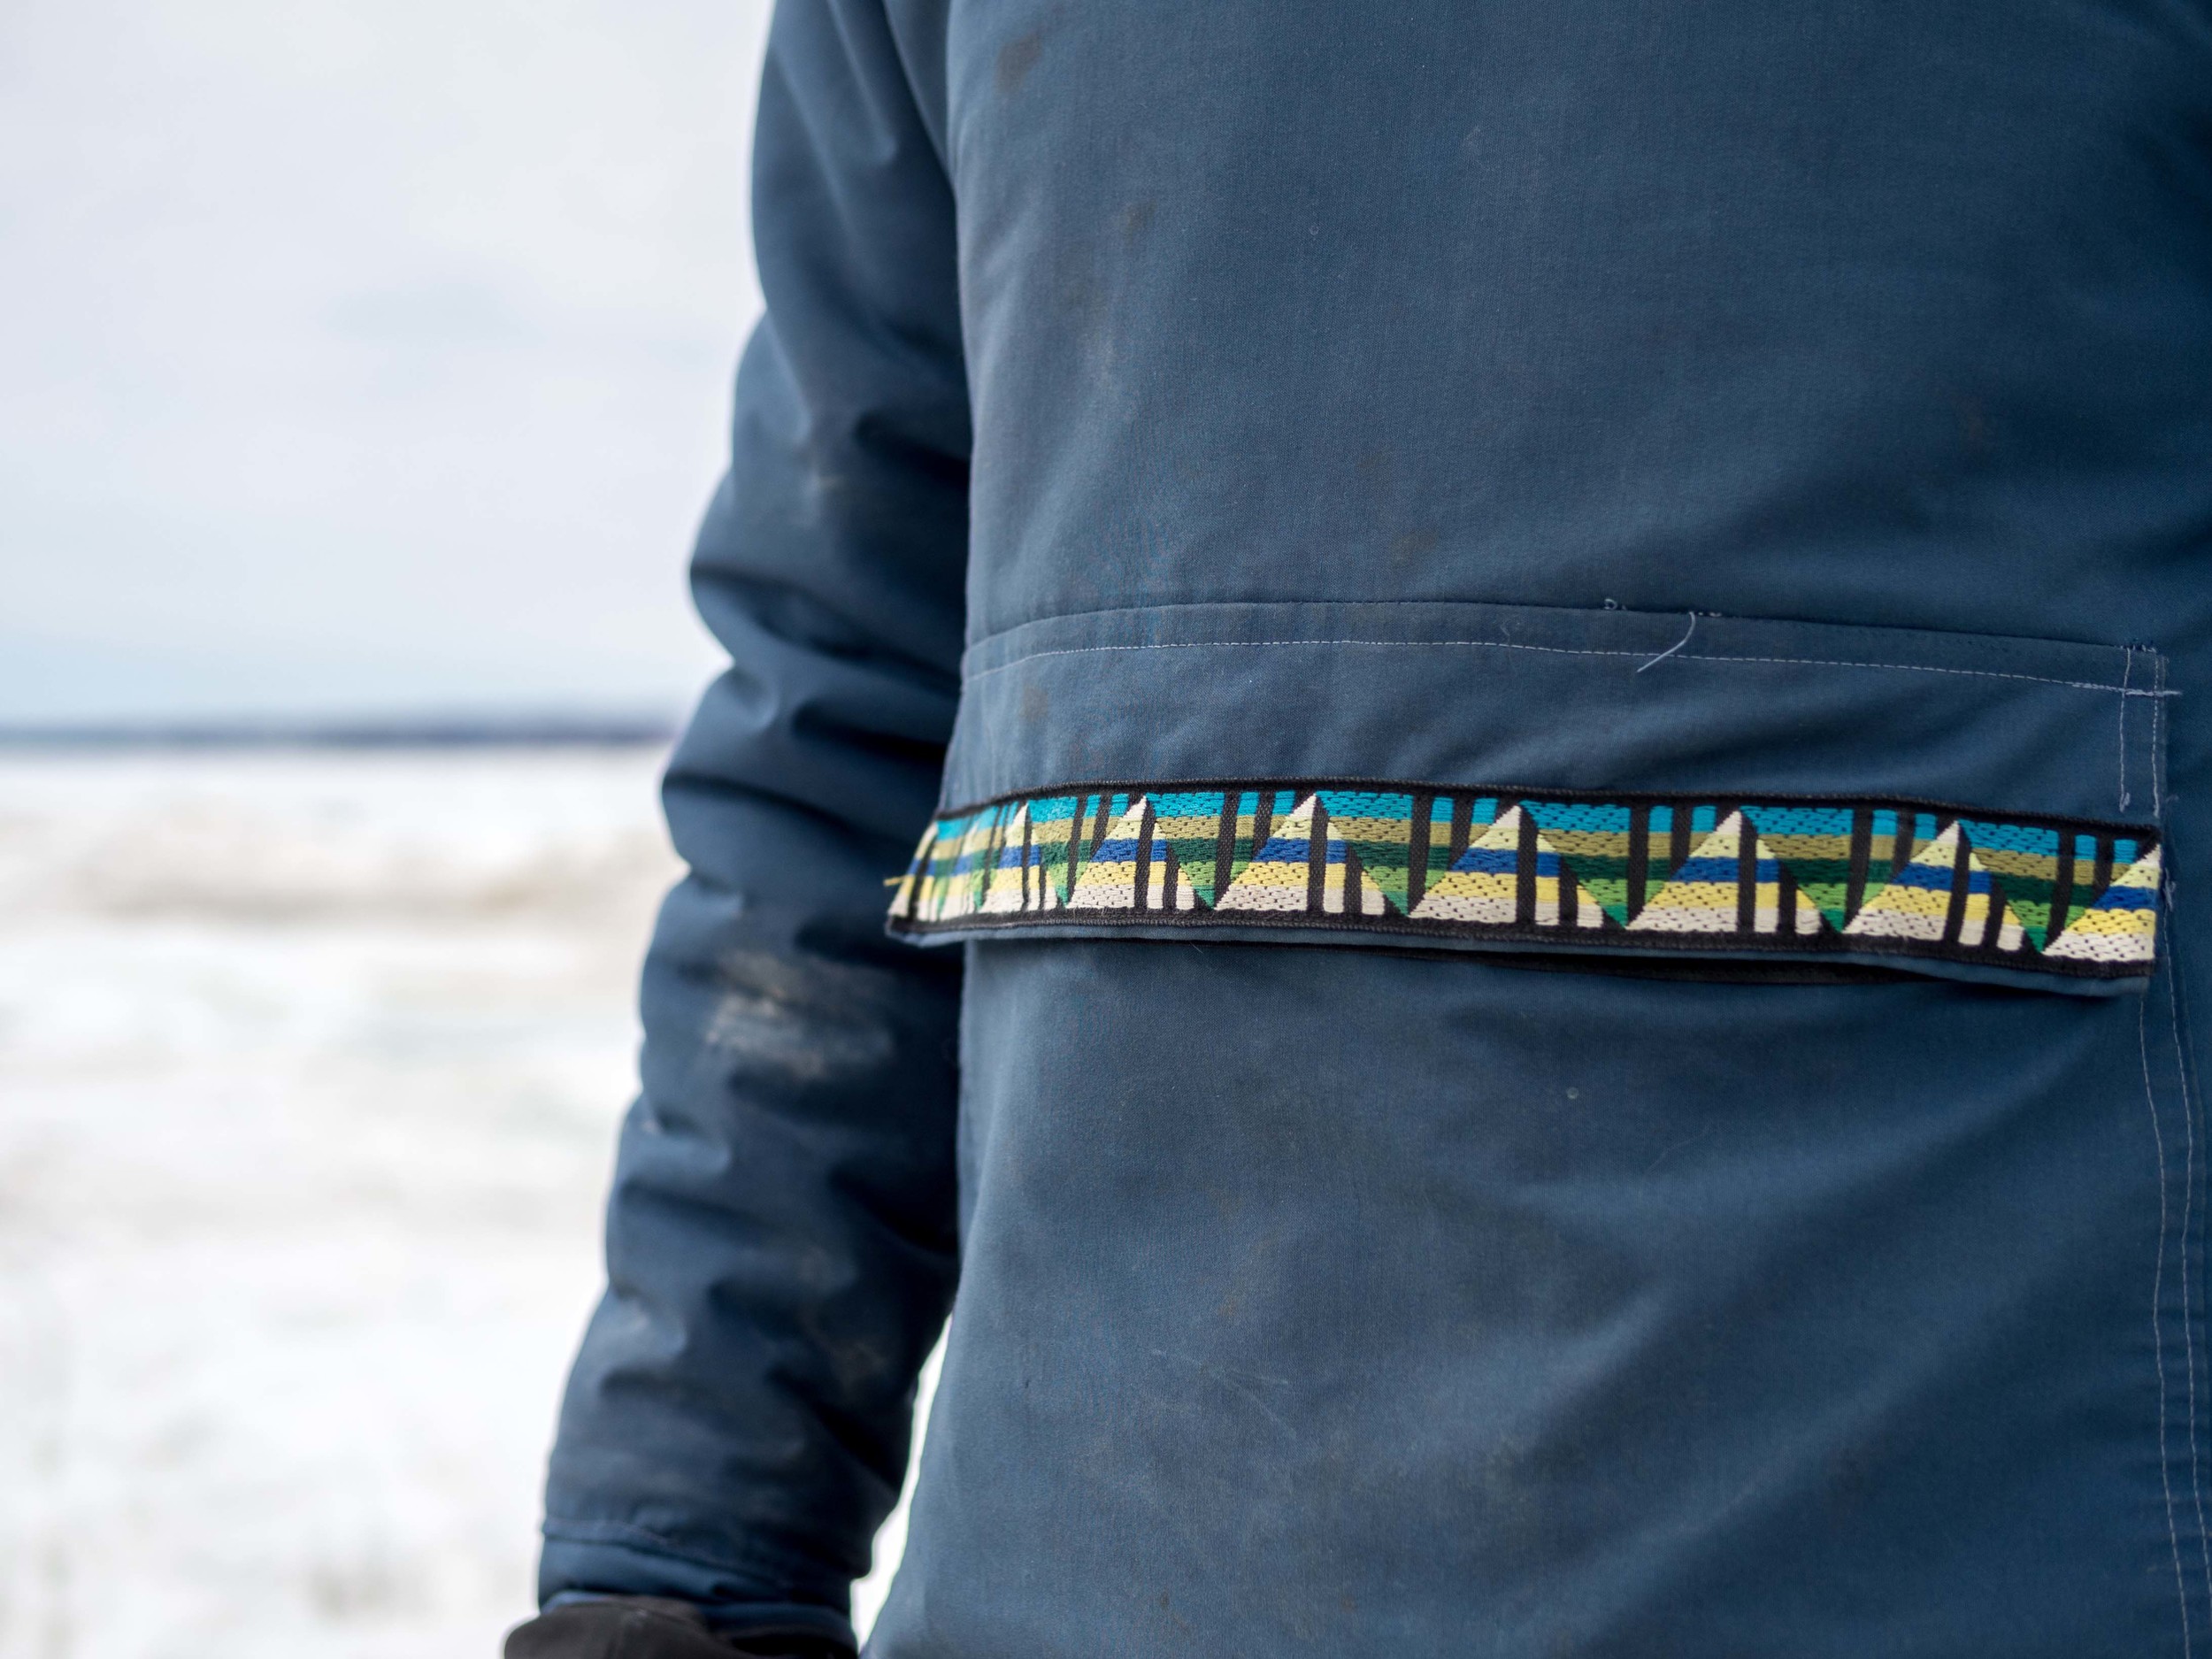
As you can see from the stains and bits of loose thread, this coat is well-worn and well-loved. I think that this parka will always be a work-in-progress, considering it was the first article of clothing I have ever sewn. For example, the sleeves were too short when I first finished the jacket, so recently, I opened up the wrists and added an extra cuff with piping, increasing the length of the sleeve and creating a better fit. It seems that as my sewing skills improve with each parka, I find room for improvement in the first.

I love, love, love the style and functionality of fur on pullover parkas. The fur comes all the way around into an uninterrupted circle that tucks in around your neck and does wonders for keeping the cold wind off your face. In addition to the coyote fur trim on the outside of the hood, I also sewed a loop of trim inside the hood, for added flair. My teacher told me that she'd never seen anyone do that before, so it has since become my signature!
Justin has been wearing this parka since I finished it last December by layering different clothing pieces under the coat: a down jacket in the dead of winter, a lighter fleece in the spring, just a tshirt on warmer days. One of the main reasons I chose to sew a parka for Justin before making one for myself is because I wanted to practice on his jacket first (ha). However, I didn't expect to feel a sense of pride, almost honour, by creating an item that is so useful, so practical for someone else. Iqaluit is a cold place, and it warms me every time I realize that the only thing between Justin and the elements is a union of fabric and thread and fur that came together by my hands.

If you have any questions or comments about Tukisigiarvik's Iqaluit parka course or parka making in general, leave me a comment below or send me a message on Twitter! And be sure to stay tuned for my post about parkas number 2 and 3 - they are not to be missed.